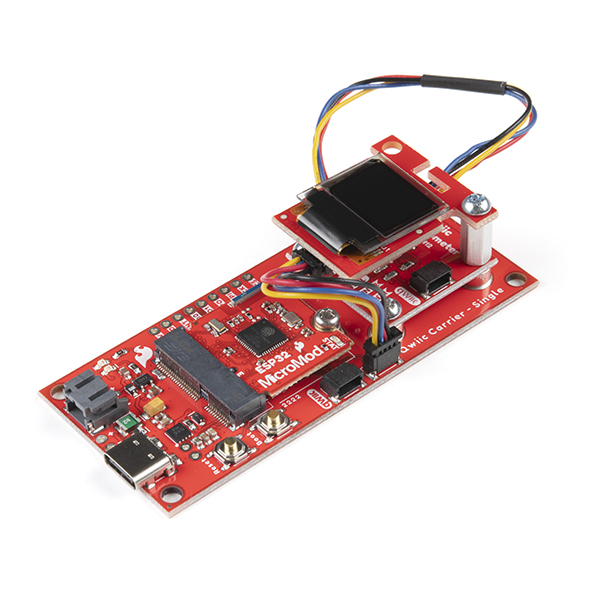
SparkFun MicroMod Qwiic Carrier Board - Single
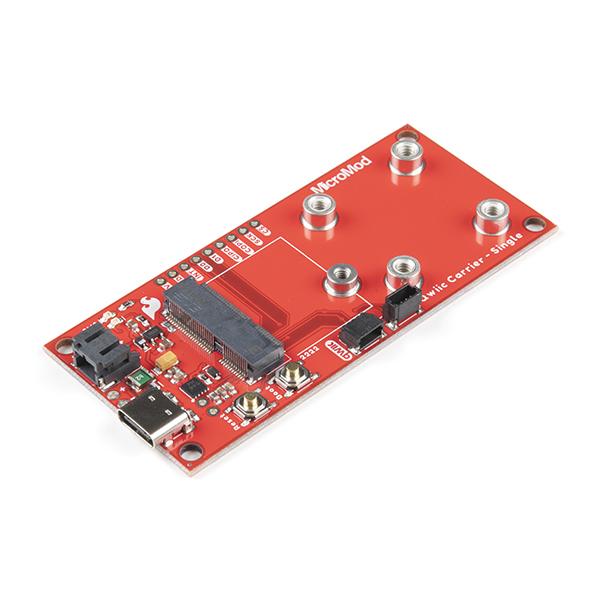
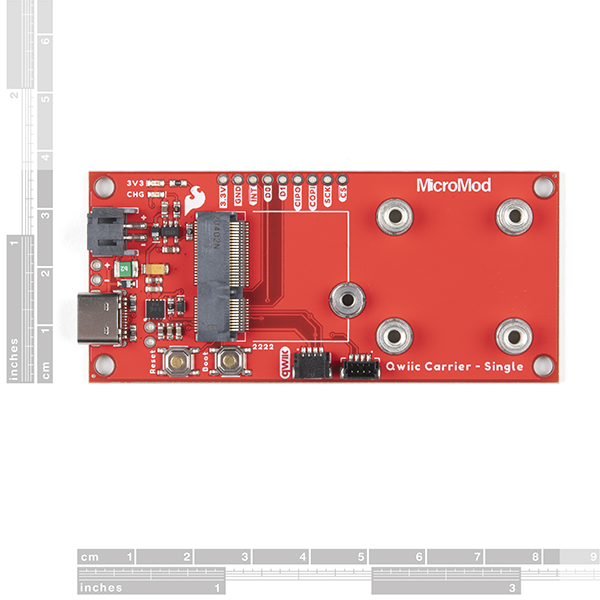
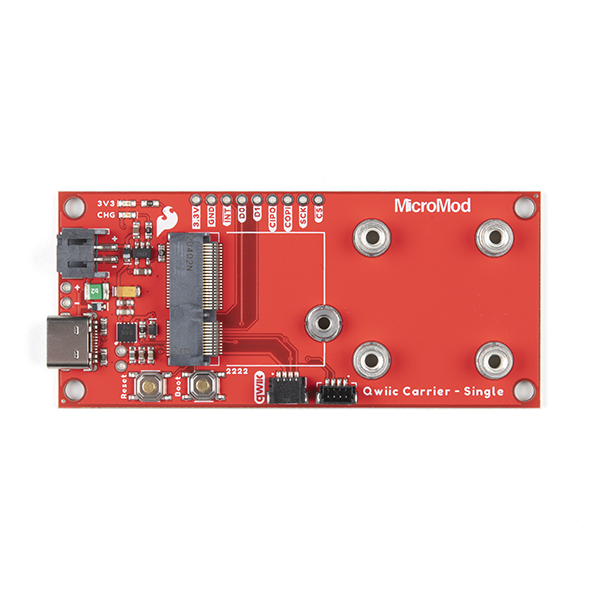
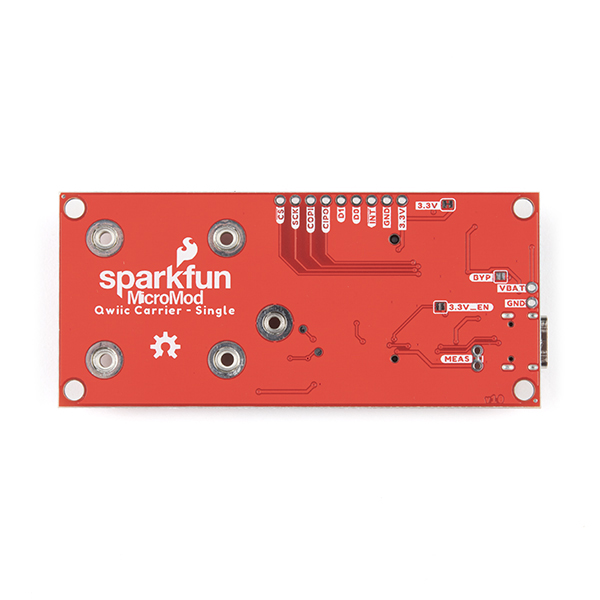
The MicroMod Qwiic Carrier Board can be used to rapidly prototype with other Qwiic devices. The MicroMod M.2 socket provides users the freedom to experiment with any processor board in the MicroMod ecosystem. This board also features two Qwiic connectors and four 4-40 screw inserts to connect and mount Qwiic devices.
This version of the SparkFun MicroMod Qwiic Carrier Board features a single port for our standard 1in. by 1in. Qwiic Breakouts. However, you aren't beholden to attaching just one Qwiic breakout since you are able to stack the boards on top of each other, allowing you to hook up a full circuit of Qwiic sensors and accessories to fully utilize your next project!
MicroMod is a modular interface ecosystem that connects a microcontroller “processor board” to various “carrier board” peripherals. Utilizing the M.2 standard, the MicroMod standard is designed to easily swap out processors on the fly. Pair a specialized carrier board for the project you need with your choice of compatible processor!
- 1x MicroMod Qwiic Carrier Board - Single
- 1x Phillips #0 M2.5x3mm screw
- 10x Phillips Head 1/4in. 4-40 screws (for mounting additional boards to standoffs)
- M.2 MicroMod (Processor Board) Connector
- USB-C Connector
- 3.3V 1A Voltage Regulator
- Qwiic Connectors
- Boot/Reset Buttons
- Charge Circuit
- Four 4-40 Inserts
Hardware Documentation:
MicroMod Documentation:
SparkFun MicroMod Qwiic Carrier Board - Single Product Help and Resources
Qwiic Carrier Board Hookup Guide
March 18, 2021
The Qwiic carrier board is the latest way to rapid prototype with the included M.2 socket to swap processor boards and Qwiic connectors to easily connect I2C devices.
MicroMod Qwiic Pro Kit Project Guide
September 29, 2022
The MicroMod Qwiic Pro Kit was designed to allow users to get started with Arduino without the need for soldering or a breadboard. We've included three inputs (a joystick, accelerometer, and proximity sensor) and one display that can be daisy chained to the MicroMod SAMD51 Processor Board.
Core Skill: DIY
Whether it's for assembling a kit, hacking an enclosure, or creating your own parts; the DIY skill is all about knowing how to use tools and the techniques associated with them.
Skill Level: Noob - Basic assembly is required. You may need to provide your own basic tools like a screwdriver, hammer or scissors. Power tools or custom parts are not required. Instructions will be included and easy to follow. Sewing may be required, but only with included patterns.
See all skill levels
Core Skill: Programming
If a board needs code or communicates somehow, you're going to need to know how to program or interface with it. The programming skill is all about communication and code.
Skill Level: Noob - Programming will be limited to basic drag and drop interfaces like ModKit or Scratch. You won't be writing code, but you will still need to understand some basics of interfacing with hardware. If you?re just using a sensor, it's output is analog.
See all skill levels
Core Skill: Electrical Prototyping
If it requires power, you need to know how much, what all the pins do, and how to hook it up. You may need to reference datasheets, schematics, and know the ins and outs of electronics.
Skill Level: Rookie - You may be required to know a bit more about the component, such as orientation, or how to hook it up, in addition to power requirements. You will need to understand polarized components.
See all skill levels
Comments
Looking for answers to technical questions?
We welcome your comments and suggestions below. However, if you are looking for solutions to technical questions please see our Technical Assistance page.
Customer Reviews
5 out of 5
Based on 1 ratings:
Very convenient carrier board for anything Qwicc
The micromod range of products is really a great idea, and I have been using MicroMod for 2yrs. This one is no exception: want to test the performance of an IMU on the Artmis MCU? Plug in the corresponding processor board. Interested in developing with the same IMU but on an STM32, Teensy? Put one in! A new sensor? Plug it in Qwicc, if satisfied with it then screw it on.

