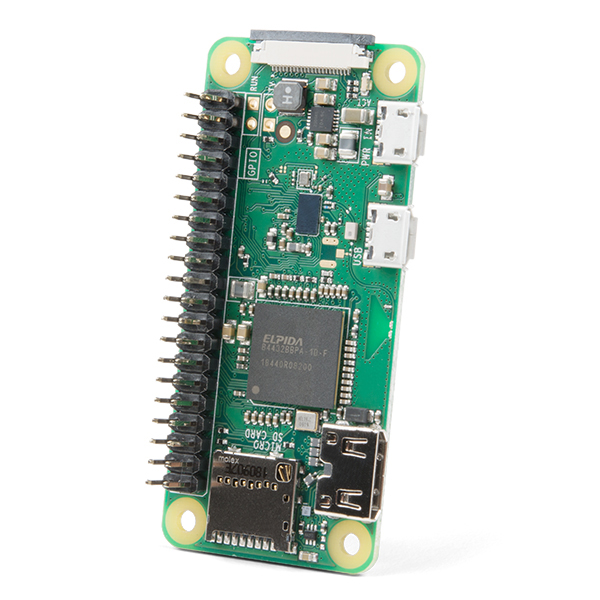
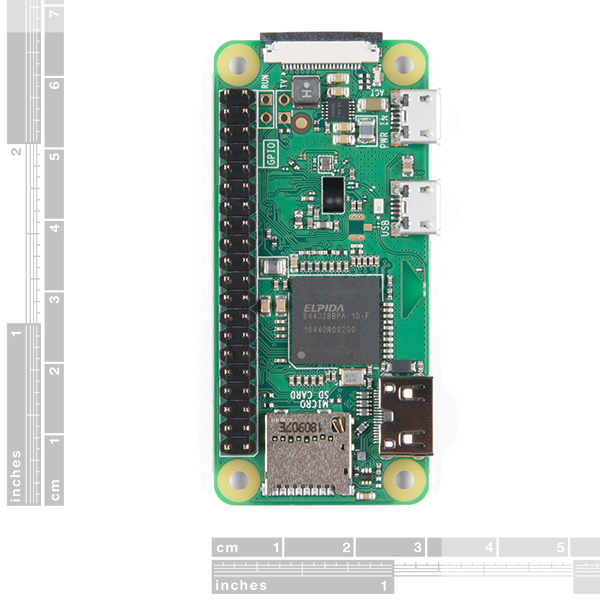
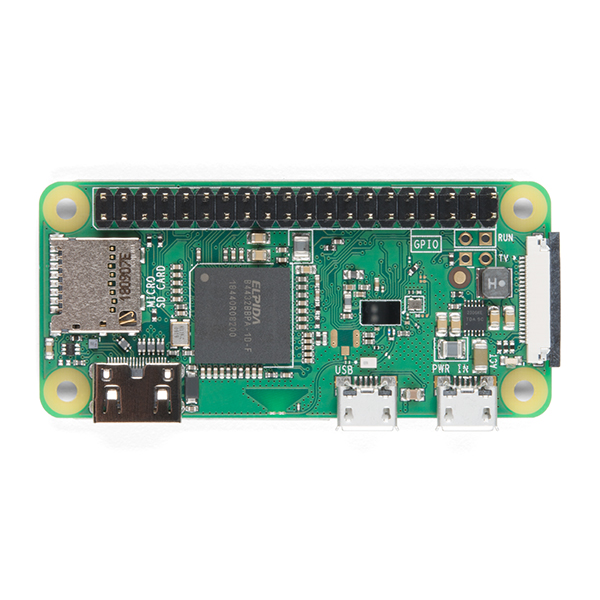
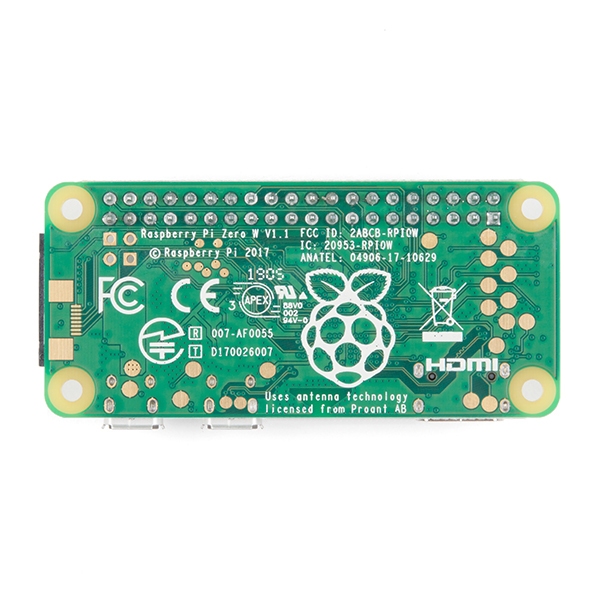
The credit-card-sized computer has become even smaller! The Raspberry Pi Zero W is still the Pi you know and love, but at a largely reduced size of only 65mm long by 30mm wide and now with headers! With the addition of wireless LAN and Bluetooth, the Raspberry Pi Zero W is ideal for making embedded Internet of Things (IoT) projects. The Pi Zero W has been designed to be as flexible and compact as possible with mini connectors and a populated 40-pin GPIO.
At the heart of the Raspberry Pi Zero W is a 1GHz BCM2835 single-core processor with 512MB RAM. Quite frankly, this Pi is about four times faster that the original Raspberry Pi and is only a fraction of the cost of the current RPi3.
The setup for the Raspberry Pi Zero W is a little more complicated than on other Pis. Because of the small size, many of the connectors on the Pi Zero are not standard. For starters you will want a Mini HDMI to HDMI cable or adapter to connect to your monitor. You will also need a USB OTG cable to connect a USB device, as well as a unique CSI camera cable. No matter how you want to use your Raspberry Pi Zero W, you will need a microSD card with an operating system and a high-quality 5V power supply to power your board.
- 802.11 b/g/n wireless LAN
- Bluetooth(R) 4.1
- Bluetooth Low Energy (BLE)
- 1GHz, single-core CPU
- 512MB RAM
- Mini HDMI and USB On-The-Go ports
- Micro USB power
- HAT-compatible 40-pin Header
- Composite video and reset headers
- CSI camera connector
Raspberry Pi Zero W (with Headers) Product Help and Resources
Graph Sensor Data with Python and Matplotlib
July 23, 2018
Use matplotlib to create a real-time plot of temperature data collected from a TMP102 sensor connected to a Raspberry Pi.
Using Flask to Send Data to a Raspberry Pi
November 9, 2017
In this tutorial, we'll show you how to use the Flask framework for Python to send data from ESP8266 WiFi nodes to a Raspberry Pi over an internal WiFi network.
Raspberry Pi Zero Helmet Impact Force Monitor
March 8, 2018
How much impact can the human body handle? This tutorial will teach you how to build your very own impact force monitor using a helmet, Raspberry Pi Zero, and accelerometer!
How to Use Remote Desktop on the Raspberry Pi with VNC
July 9, 2018
Use RealVNC to connect to your Raspberry Pi to control the graphical desktop remotely across the network.
Python GUI Guide: Introduction to Tkinter
August 13, 2018
Tkinter is the standard graphical user interface package that comes with Python. This tutorial will show you how to create basic windowed applications as well as complete full-screen dashboard examples complete with live graph updates from matplotlib.
Basic Autonomous Kit for Sphero RVR Assembly Guide
December 12, 2019
Get your Basic Autonomous Kit for Sphero RVR all hooked up with this guide!
Pi Servo pHAT (v2) Hookup Guide
July 11, 2019
This hookup guide will get you started with connecting and using the Pi Servo pHAT on a Raspberry Pi.
Getting Started with the Raspberry Pi Zero Wireless
July 13, 2017
Learn how to setup, configure and use the smallest Raspberry Pi yet, the Raspberry Pi Zero - Wireless.
Setting Up the Pi Zero Wireless Pan-Tilt Camera
September 14, 2017
This tutorial will show you how to assemble, program, and access the Raspberry Pi Zero as a headless wireless pan-tilt camera.
Raspberry Pi Safe Reboot and Shutdown Button
April 20, 2020
Safely reboot or shutdown your Raspberry Pi to avoid corrupting the microSD card using the built-in general purpose button on the Qwiic pHAT v2.0!
How to Run a Raspberry Pi Program on Startup
September 18, 2018
In this tutorial, we look at various methods for running a script or program automatically whenever your Raspberry Pi (or other Linux computer) boots up.
Advanced Autonomous Kit for Sphero RVR Assembly Guide
December 12, 2019
Get your Advanced Autonomous Kit for the Sphero RVR built up with this hookup guide!
Qwiic pHAT for Raspberry Pi Hookup Guide
May 23, 2019
Get started interfacing your Qwiic enabled boards with your Raspberry Pi. The Qwiic pHAT connects the I2C bus (GND, 3.3V, SDA, and SCL) on your Raspberry Pi to an array of Qwiic connectors.
Core Skill: Programming
If a board needs code or communicates somehow, you're going to need to know how to program or interface with it. The programming skill is all about communication and code.
Skill Level: Competent - The toolchain for programming is a bit more complex and will examples may not be explicitly provided for you. You will be required to have a fundamental knowledge of programming and be required to provide your own code. You may need to modify existing libraries or code to work with your specific hardware. Sensor and hardware interfaces will be SPI or I2C.
See all skill levels
Core Skill: Electrical Prototyping
If it requires power, you need to know how much, what all the pins do, and how to hook it up. You may need to reference datasheets, schematics, and know the ins and outs of electronics.
Skill Level: Rookie - You may be required to know a bit more about the component, such as orientation, or how to hook it up, in addition to power requirements. You will need to understand polarized components.
See all skill levels
Comments
Looking for answers to technical questions?
We welcome your comments and suggestions below. However, if you are looking for solutions to technical questions please see our Technical Assistance page.
Customer Reviews
4.9 out of 5
Based on 8 ratings:
1 of 1 found this helpful:
Amazing device!!
This is one amazing little device for the price and even for the specs!! I migrated my solar water controller from arduino over to this. I have built in all sorts of new features like data logging, web access to temps, logging to remote server etc. All of this can be done w Arduino, but having everything on one beard (wifi, bluetooth, SD) makes things MUCH easier and simpler
Works perfectly for my application.
The pi zero works perfectly for my particular non-CPU intensive application. It is being used with a MMDVM modem for a digital radio node. Specifically DMR. I find the normal raspberry pi to be much faster at boot up however these little pi zeros are cute and draw almost no power. Mine is used in a mobile environment. So yeah! I'm ordering more.
Exactly why I entered the store
It is working perfectly near as I can tell. I put a HAT on it. Stuck a memory card in it. and just like that the system was on line and running porting Digital audio both ways.
I have several Pi-Zero-W's some with hats some without doing much the same job.
Pi Zero W (with Headers)
Worked out perfectly, used it to replace a defective Pi Zero W board from a Zumspot kit. Ordered a second one on to build a ham shack world clock....
Lots of information available
I like the range and amount of product information that Sparkfun provides. Always accurate and to the point.
Great Alternative to Arduino When Wifi is Required
The Pi Zero W has comparable power requirements to an Arduino with attached wifi shield. For applications requiring ADC the Pi Zero can be attached to the I2C ADS1015 sensor. Many other I2C sensors are also available. Plus, with a Pi Zero, I can code in interpreted languages like Python, and setup a web based (http) user interface, as well as store substantial data in an rrdtool database stored in the SD card.
My most recent Pi Zero project involves using a Pi Zero with an INA260 power sensor to monitor power consumption at a remote amateur radio installation. The power sensor monitors power consumption of an amateur radio mesh network node (www.arednmesh.org). The Pi Zero runs an Apache web server which allows any computer on the mesh network to view a web page showing the power being consumed by the node. You can see project details at https://github.com/fractalxaos/ham/tree/master/nodepower
Makes a scaled down Raspberry PI accessible for compact projects.
Sure it's not as zippy as the new 4B. But what is? This is a great size for embedded projects. IoT, Model Rocketry, RC Aircraft, Robotics. Great price too!
Great product and service
Had this in my hands within 2 days, connected via Putty and running a small DC motor using a motor hat within minutes. I did have an SD card with a working image already setup. Highly recommend Sparkfun and of course Raspberry, but they're almost impossible to get these days.


